A buddy and I have been tinkering with DIY (Do It Yourself) alcohol stoves on and off for the last couple of years.
I thought I'd put together a blog post on the design principles that I have learned as a result of all the tinkering and testing. What follows is NOT a "follow the steps and you'll get such and such a stove." Rather, I list some basic design considerations for making decent DIY alcohol stoves. For pragmatic reasons, the post is limited in scope to open type burners made from aluminum beverage cans.
For those of you who would like to try your hand at making such stoves, at the end is a list of "standards" that you can benchmark your DIY stoves against.
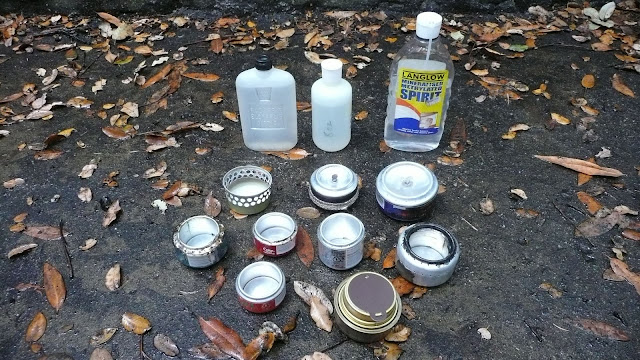
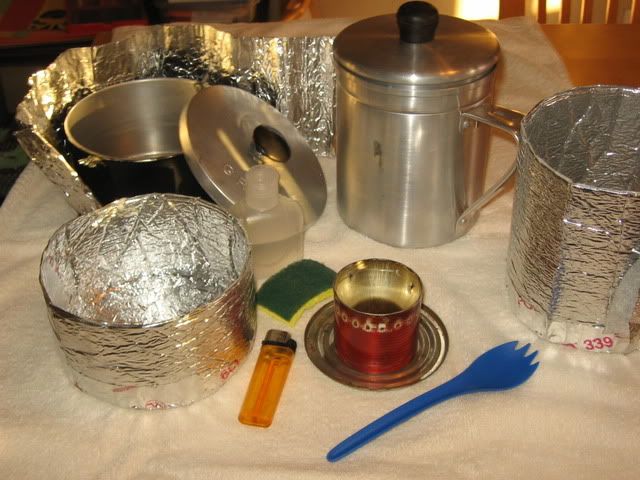
Thanks for more great info!! Here is the kit I have been using. If you have any input on it I would love to hear.
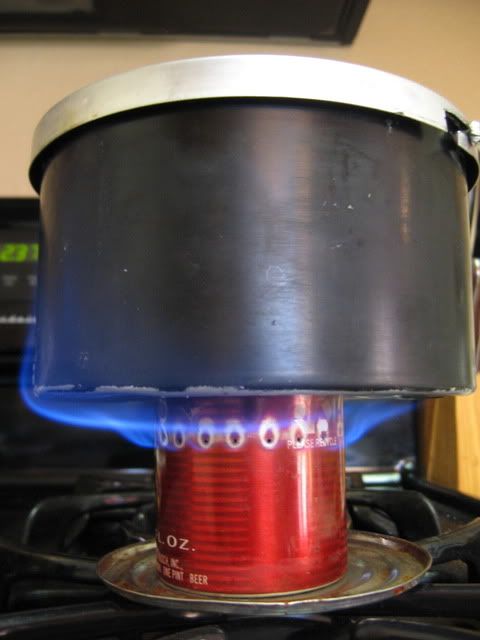
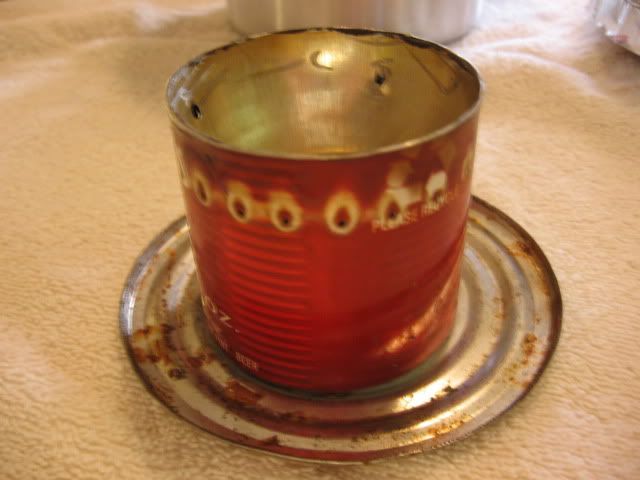
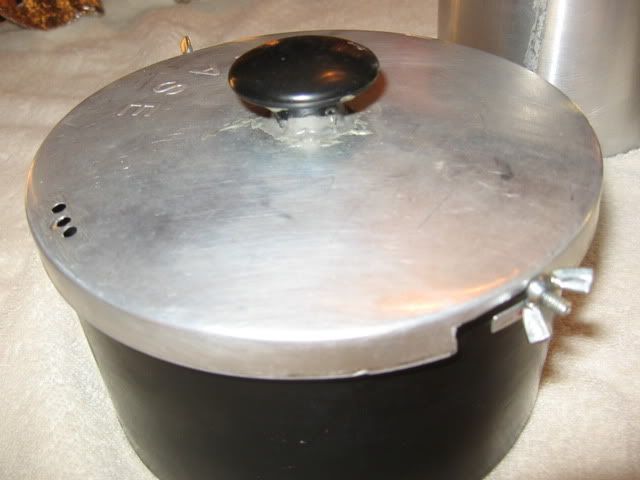
I have been using a bud light stove on day hikes and in my office for over a year now. I use it with a kmart grease pot that I have modified by cutting groves and adding screws and wing nuts to hold the lid on and lift by the lid knob. The wing nuts are used to tighten it all together while in my pack. I also drilled holes to strain things, but it just runs out between the lid and the pot I bought another grease pot from walmart for larger meals. I cooked 4 packs of ramen in it 8) I made pot koozies for them both. I use a coffee lid for a primer pan, it seems to work. The kit is about 7oz with out fuel.
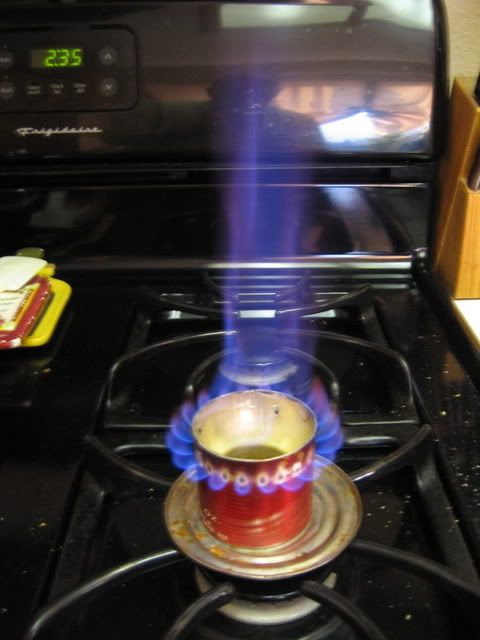
The one thing I notice is that you have flames spilling up around the side of the pot. Unfortunately, that wastes heat.
If the set up is working for you, then that may be no big deal. If you wanted to see if you could eliminated the wasted heat, that could be a fun bit of tinkering, if you like that sort of thing. If you like that basic type of stove (your stove is what is called a "side burner" since the flames come out the sides), you could try fewer jets.
Alternatively, you could try the style of stove listed in my blog post.
Thanks for the input. I was thinking of trying a mini atomic so the flames dont go up the side, but then I would need a pot stand. The flames go up the side more with wind, so careful windscreen placement helps. The other thing I love about this stove is how strong it is. You can stand on it and it wont crush.
I have thought about making another and going to maybe 16 jets, I think this one is 20.
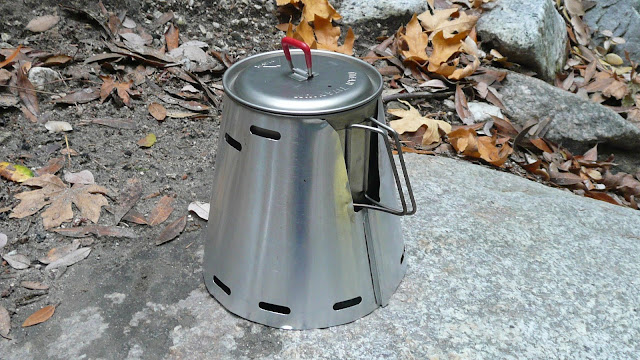
Im really liking that caldera cone and msr kettle set up you have too.
My experience is that there's more to it than just a narrow flame. I tried a Mini Bull Designs Atomic stove which has a narrow flame, but the narrow flame just hits the bottom of the pot, spreads out, ... and goes up the sides. It's better to have a smaller, controlled flame than just a narrow flame, IME.
Your idea of fewer jets is a good one, although honestly I think side burner type stoves are tough unless you want to use a wide pot.
Yeah, the Caldera Cone set up is a pretty nice one.