Eight of us flew up to SeaTac Airport to do the double day hike of Camp Muir and Mt. St. Helens a week ago last Friday.
We started our day at Paradise Inn at 8AM on Saturday the 23rd. We made tree line in less than an hour; from there it was fairly easy following the trail to the snow line. Just before the snow line a ranger placed a sign up (of which I watched him carry it up on his pack) stating that the crevasses were opening up more and more all over the mountain.
The snow was firm for the first hour of snow climbing/hiking between the McClure Rock areas past “The Sugarloaf” area. Following all the tracks already there was like following breadcrums, it was easy for anyone to do.As the morning wore on it started to get softer and softer as it was a sunny, cloudless day. By 10:15 AM we had passed the Moon Rocks area and Camp Muir was in site. By 11 AM all of us except one person made the Camp Muir lodging/staging area. The last person needed another 45 minutes to make it and one of our group went down and made fresh tracks for that hiker as she was slipping and sliding all over the place.
I have to say that it was like Disney Land out there. Going up we ran across 10 or 15 hikers on their way up, then we got to the Muir Snow Field, and from there to Camp Muir we came across at least another 100 people going up and at least 75 people coming down. The worst part was the number of “Non-hikers” that crowded the “Skyline Trail” area later that day when we decended– these folks decided to come up for the day just to walk around the “Paved” part of the trail. The biggest problem was that some were walking around in the meadows outside the “Marked Trial” even though the signs said not to. And to make it more difficult half of them would not move over when the hikers that had been out all day wanted to get past them, they were walking two abrest and dragging their kids all over the place. We even met one group of three guys in "Blue Jeans" at the base of the Muir Snow field who told us they were going to make it to Camp Muir in one hour - they had one bottle of water, tennis shoes and no warm weather gear - we told them to be prepared for a three hour hike with the shoes they had on - we laughed all the way to the lodge.
Other than that the hike was a 10+, in that it was a beautiful day, everyone on the snowfield and up at Camp Muir was very informative. See pictures below.
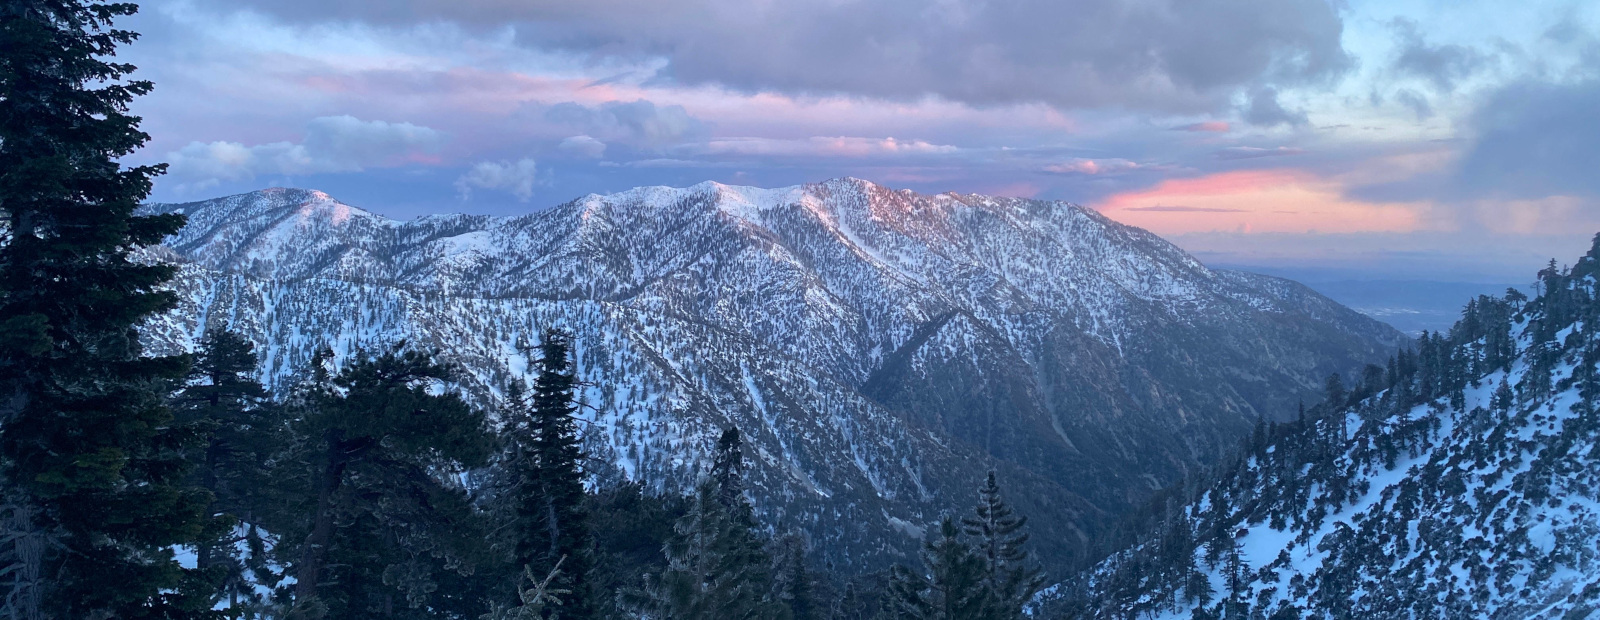
On the way into the Park on Friday.
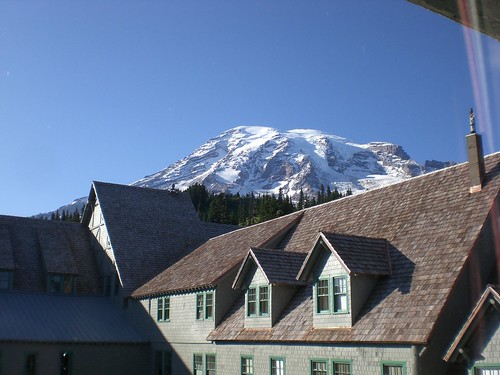
Paradise Inn with Rainier behind it.
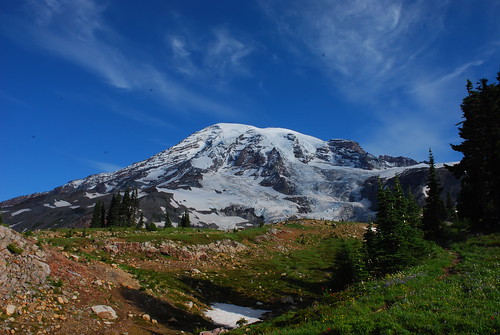
Skyline Trail just before end of Tree Line.
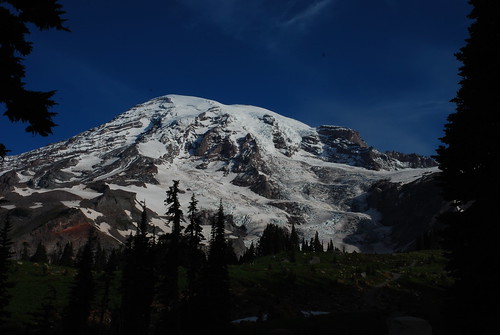
At end of Tree Line with Nisqually Glacier facing us.
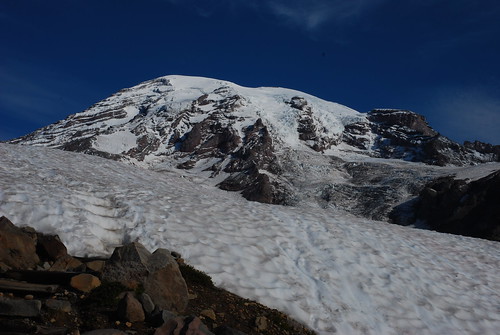
Beginning of Muir Snow Field.
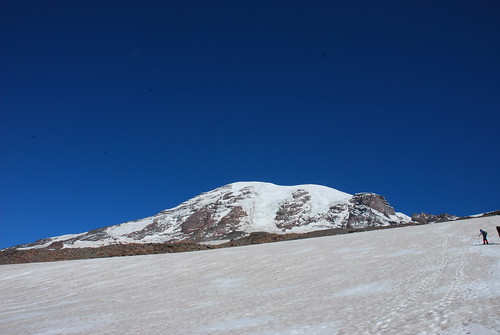
Halfway up the Muir Snow Field.
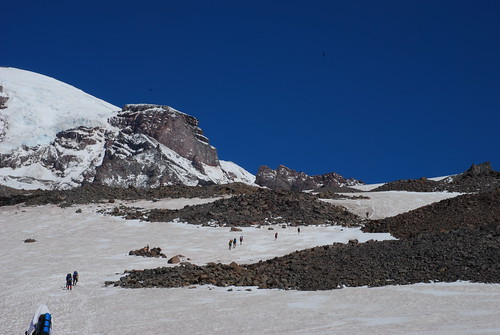
Just before Camp Muir. Notice the amount of people going up, twice as many behind me.
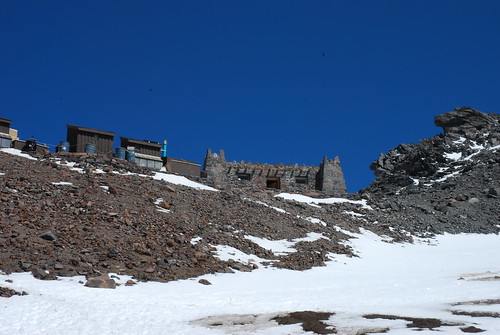
Solar Bathrooms in the center, original Stone building built in 1921 in Memory of John Muir on the right.
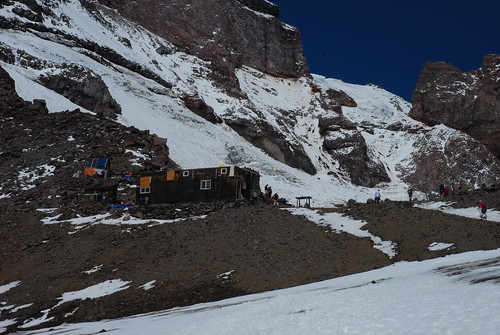
Mount Rainier Mountain Guides lodging at Camp Muir.
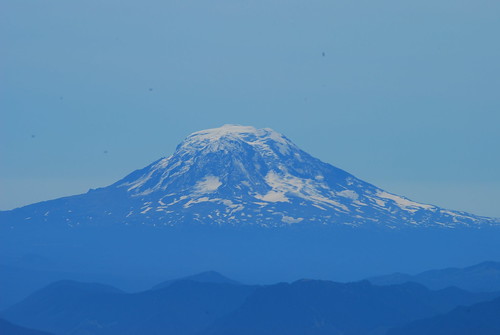
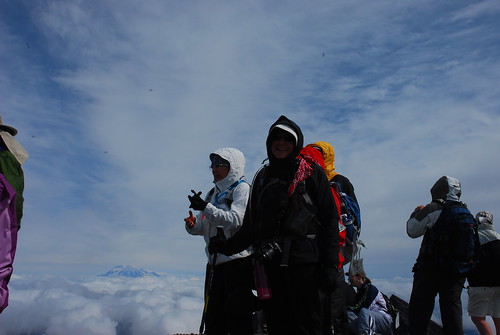
Mount Adams Standing Tall as viewed from Rainier.
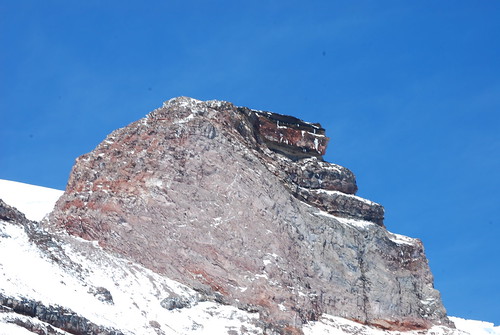
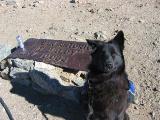
This is a rock that sits north west of Camp Muir – do not know the name but it looks like a “Grumpy Old Man” facing north east.
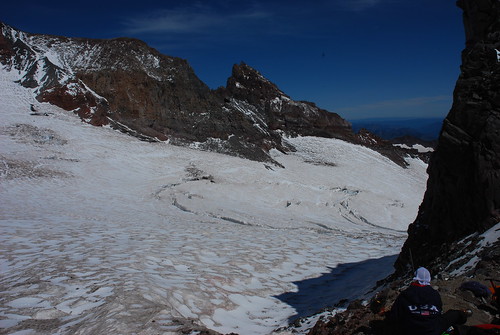
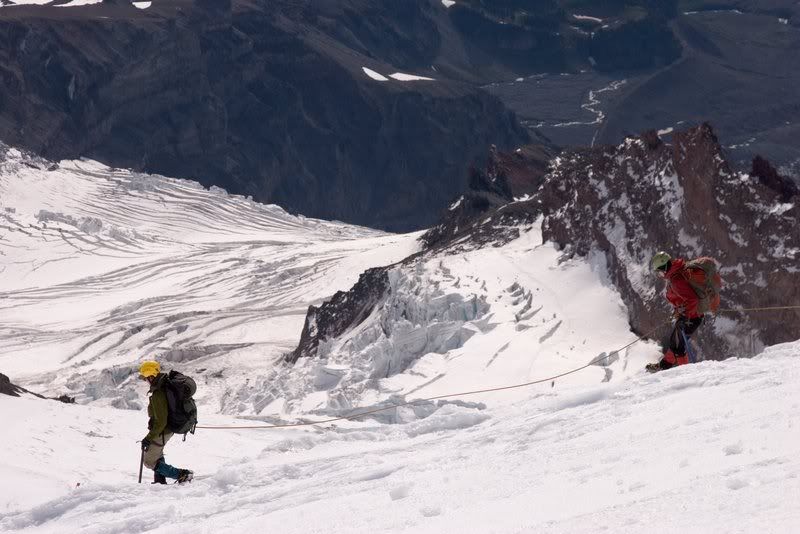
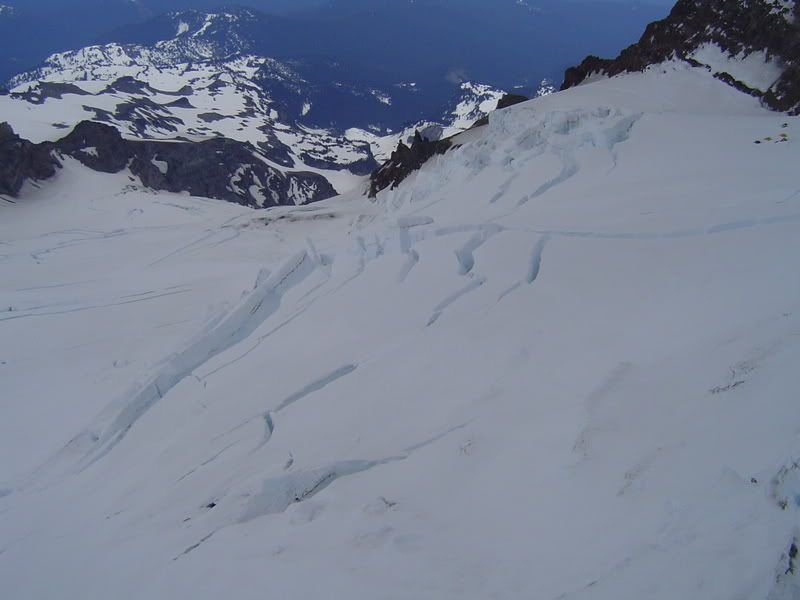
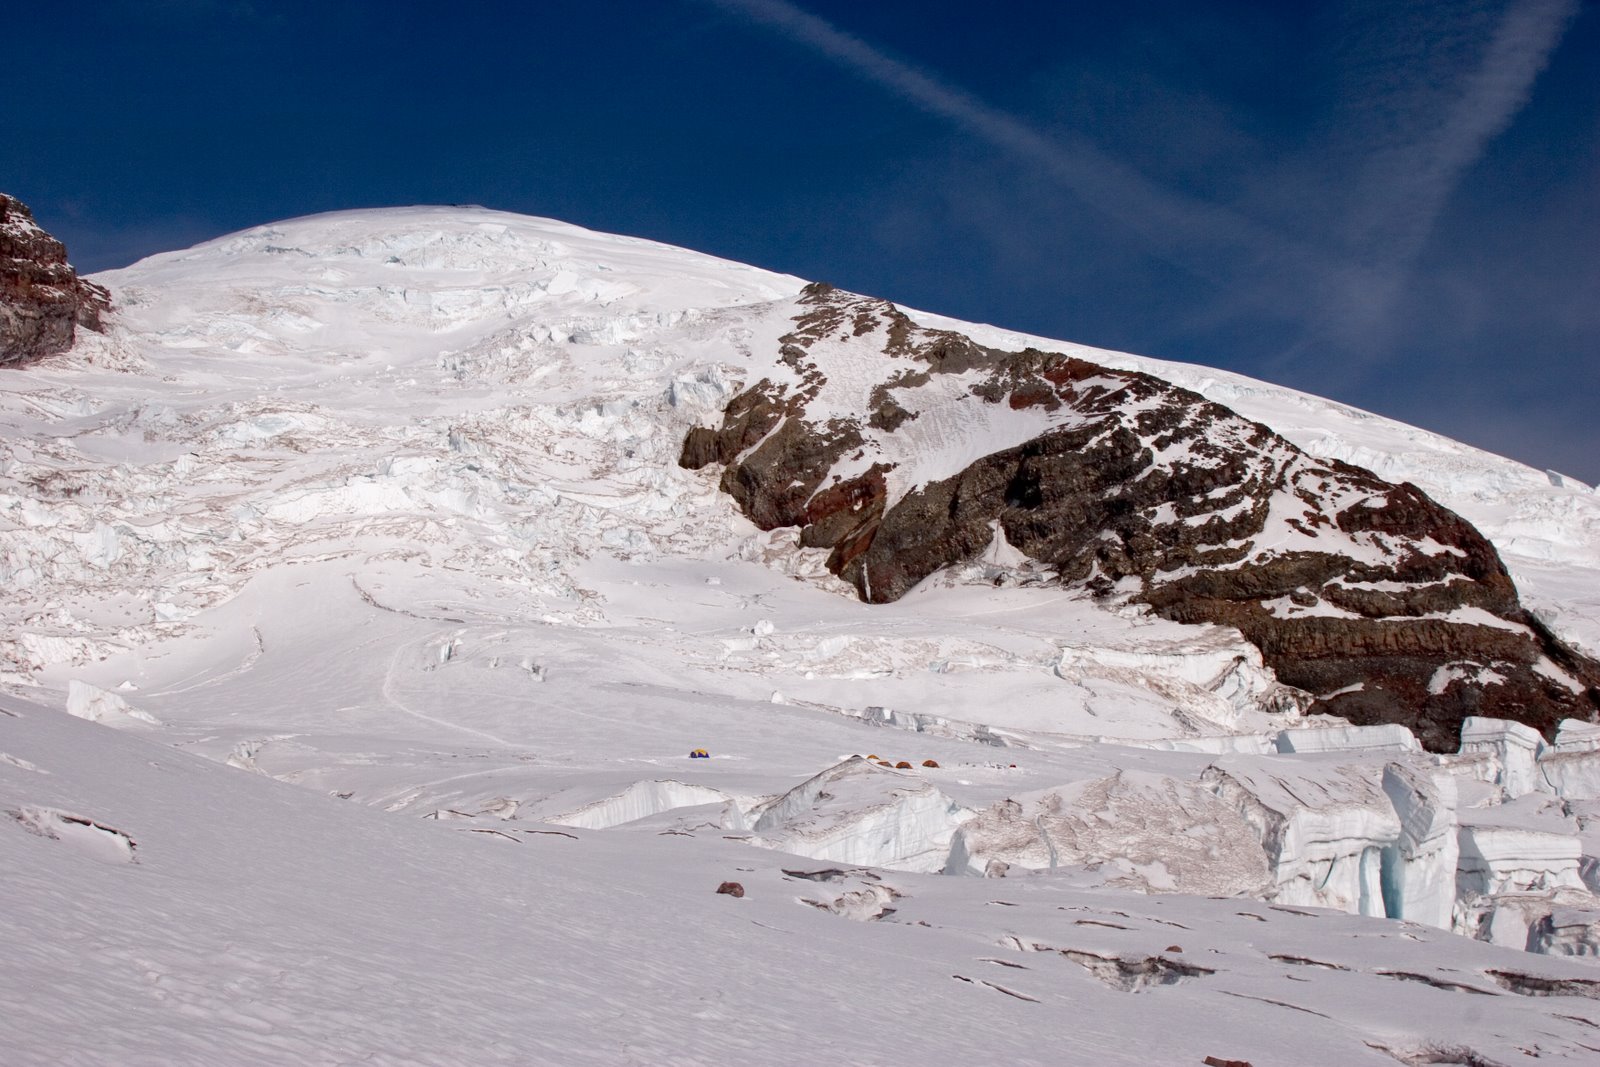
Cowlitz Glacier – just above and to the north of Camp Muir – notice the amount of opening that has happened recently in the Glacier. If you look really close you can see the moved the trial leading from Camp Muir to Disappointment Clever from just above this to much higher above this Crevasse.
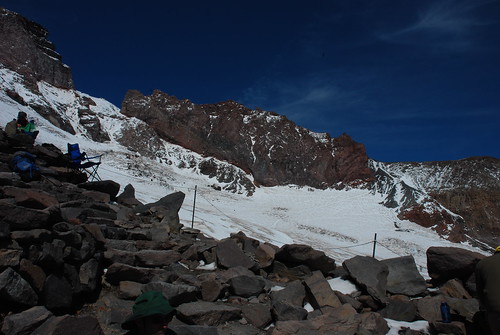
The trail to Disappointment Clever is dead center of this picture as viewed from Camp Muir. It swings across this glacier to the right, in between the red rocks and the grey ones on the right hand side of this picture.
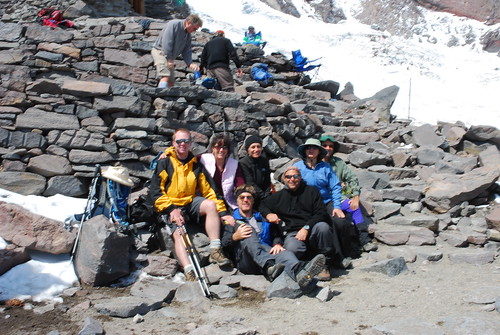
Gang’s all here, minus one.
Mount Saint Helens was just a nice as Rainier but it had its own uniqueness. On Monday morning we were up early 4:50 AM and at the trial head before 7 AM. It rained all night on and off again so we were expecting to get wet. We must have said our prayers just right because all of us finished our hike and were putting our boots away before it came down hard mid-afternoon Monday.
The first part of the hike is through lush wet forest. Then you pop out at the base of one of the lava flows that came off the backside of the mountain. As you probably know the volcano blast sent most of the material North in 1980 but some of it did flow to the South and you can easily see that path once you start climbing the Boulders above the tree line.
If you’ve never been to Hawaii then you will enjoy some of these pictures. The rocks/boulders made you feel like you were on the Moon. The clouds were hanging low for most of the morning and when we reached the midway point the wind picked up to 20+ miles an hour and with no tree protection the wind chill was around freezing or just above it. The climb was fairly straight forward and once we made it past the boulder field the ash/sand was slightly hard on the calf’s but you can see the summit from there so your excitement overcomes you and you race towards the rim. The views speak for themselves.
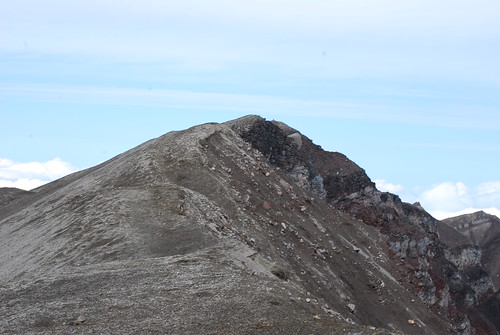
View to West at Rim.
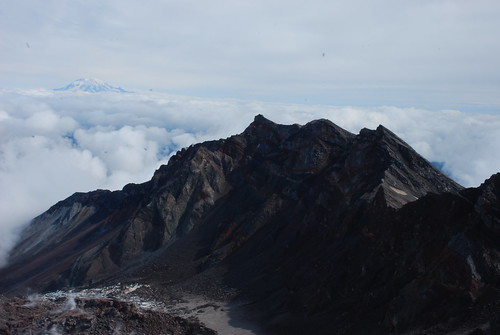
East Ridgeline with cone smoldering in the bottom left of picture and Rainier in the background.
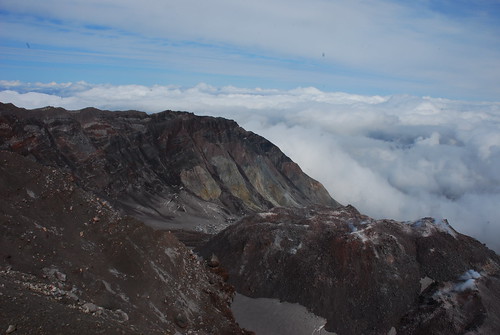
View of West Ridgeline and Cone in center of Volcano – the Cone has risen 1,300 feet since 1980.
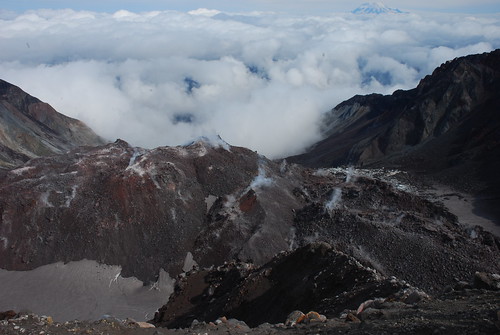
Looking down into crater at the cone. Notice the gases escaping the cone and the glacier that surrounds the cone at its base, bottom left of picture. See next picture as well.

Zoomed image of Glacier forming around the base of cone in center of Volcano.
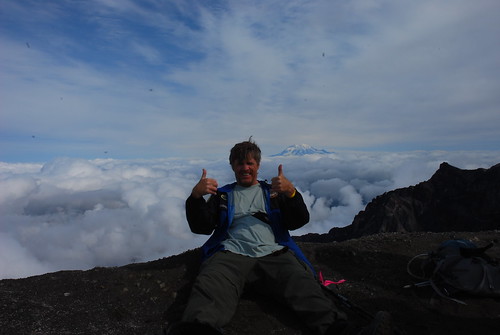
Part of our group on the rim with Rainier in the background.
All in all it was one of the best long weekend hiking trips to date.


